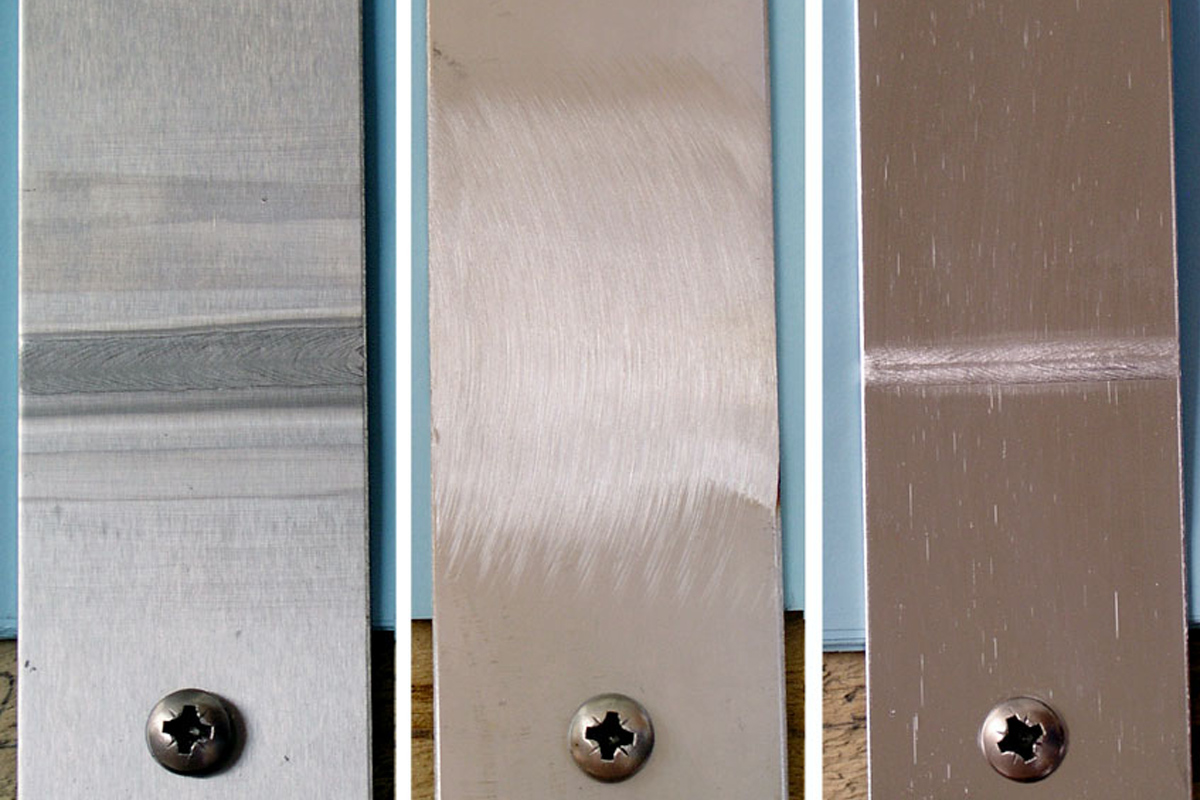
Surface roughness is a measure of the texture of a surface. It is quantified by the vertical deviations of a real surface from its ideal form. If these deviations are great, the surface is rough, if they are small, the surface is smooth.
The roughness of a surface has most commonly been measured by an instrument in which a stylus travels across the surface, the movement of the stylus is amplified and the signal recorded. The result is generally expressed as Ra or average roughness and is the arithmetic average value of the deviation of the trace above and below the centre line. The value of Ra is normally measured in micrometres.
Although Ra is a useful average, it does not differentiate between peaks and valleys.
Very different profiles can have the same Ra value. In technical specifications, the upper limit or maximum value of the parameter is often found during inspection. To designate the upper limit of the parameter Rmax symbol is used.
It is worth keeping in mind that surface roughness directly correlates with the corrosion performance of the surface this also included welded surface and the heat affected zone. Incorrect surface specification or treatment can result in excessive roughness and hence corrosion damage.
According to AS/NZS 1554.6, the Principal and the fabricator should agree upon the finishing procedure used defining required value of Ra and/or Rmax of welded samples. Alternatively, if the measurement of the surface roughness at the fabrication stage is difficult or impractical, principal and the fabricator can retain corresponding samples or photographs of them.
The most universal technique is to measure surface roughness with a stylus contact-type instrument that provides a numerical value for surface roughness. The roughness is determined by measurements across and along the weld. The measurements have to be performed at the worst section of the weld distinguished by the visual inspection.
Traditionally mechanically polished surfaces have been described by the grit size of the final polishing belt, such as “120 grit” or “120#”. This widespread convention can be very imprecise as it takes no account of factors such as the polishing pressure, the type of abrasive whether the polish was carried out with or without lubricant, whether the belt was new or nearing the end of its life.
A quantified Ra and/or Rmax value or agreement to visually match samples is preferable as these designate a polished finish that can be confirmed by subsequent inspection.
“The principal and the fabricator should agree upon the finishing procedure used…”
For example, external welds in a stainless steel decorative handrail can be specified as AS/NZS 1554.6 Weld Category 2B, I (0.5Ra)
References:
AS/NZS 1554.6, Appendix B
ASME B46.1 Surface Texture
NZSSDA “Blue Book”
Update shared by our General Manager Welding Centre Dr Michail Karpenko & Senior Welding Engineer Alan McClintock
